How to install Convertize with any CMS
https://docs.convertize.io/fr/docs/comment-installer-convertize-avec-un-cms-generique/Install Convertize with any CMS
Convertize can be used with almost any website, regardless of whether or not it is managed using a CMS (Content Management System). Here, we will explain how to install Convertize with any CMS.
To use Convertize on your website, you need to install the Convertize Pixel. This Pixel is nothing more than a small line of code that you need to copy and paste into the source code of your website.
Installing the Convertize Pixel is simple and only takes a couple of minutes. The only requirement is access to your website’s code.
To install the Pixel, follow these steps.
Step 1: Copy your Pixel
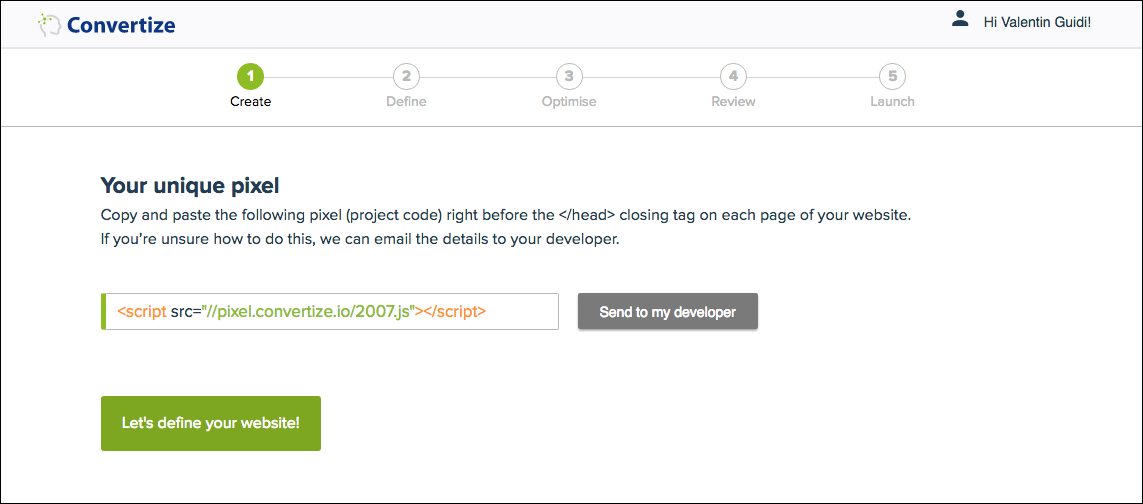
When you first create your Convertize account, the Pixel is given at the very beginning of the process, in Create.
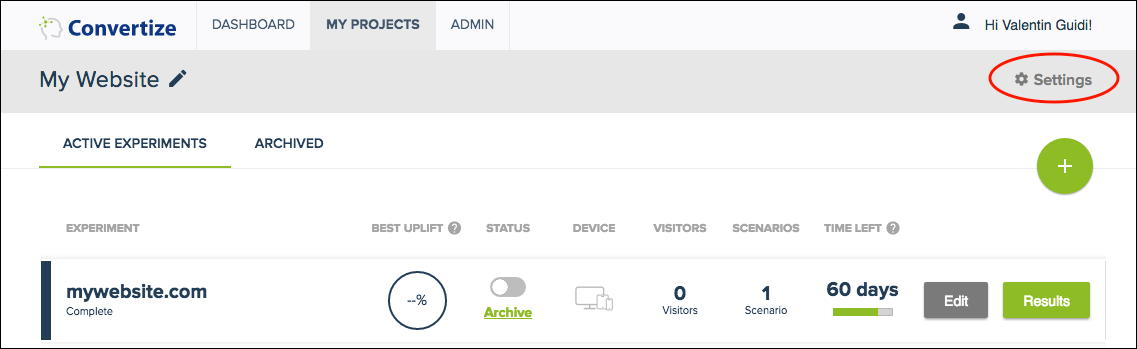
After you have created your first Experiment, you can find your Pixel back in the settings of your Project. Go to the My Projects tab > select the Project you created > click “Settings” in the top right corner > find your Pixel in the Tracking Pixel tab.
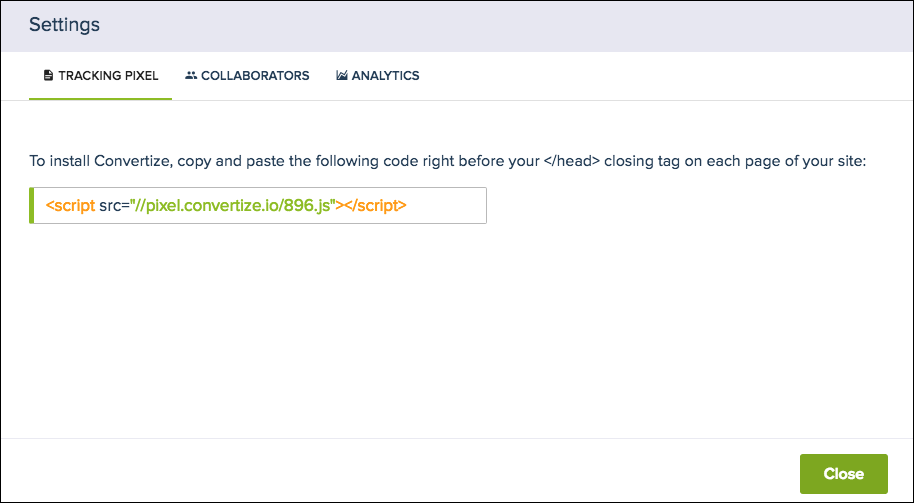
Copy the Pixel from the text-box.
Note that each Project has its own, unique Pixel. If you have created more than one Project, make sure to select the one you want to find the Pixel for.
Step 2: Paste the Pixel into the head element of your website
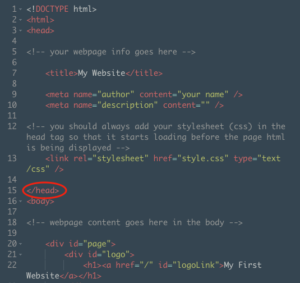
Now you need to paste the Convertize Pixel into the head element (before the closing tag </head>) of your website. If you only wish to use Convertize on specific pages, you can also paste the Pixel into the head element of these pages only.
In the example below, you can insert the Convertize Pixel on line #14 located just above the closing tag </head>.
If you use one of the following tools, you can avoid touching opening your source code. Read here where to paste the Pixel Convertize if you use:
- Instapage
- Magento 1
- Squarespace
- Google Tag Manager
- Magento 2
- OpenCart
- Prestashop
- any Tag Manager
- Shopify
- WordPress
Adding the Pixel will not affect the performance of your website.
Step 3: Check the Pixel is installed correctly
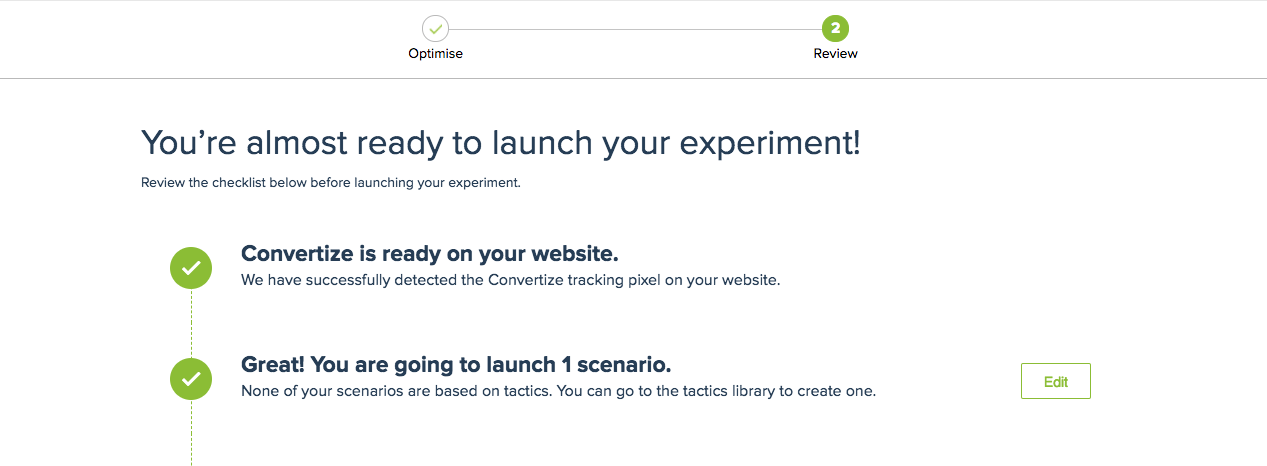
Whenever you create a new experiment, and click ‘Save and continue’ at the bottom right of the Smart Editor, you are taken to the checklist. The first item on the list will tell you if the Pixel has been correctly implemented as shown below.
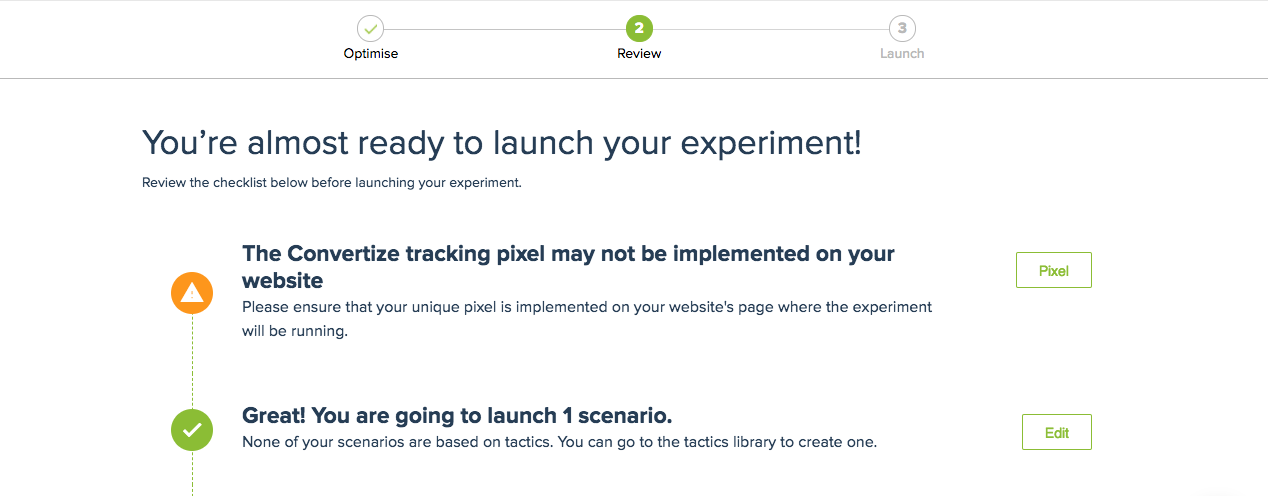
If the Pixel has not been installed correctly, you will see the following message on the checklist:
Double check that you have followed the installation instructions correctly. If you need assistance, you can always contact us in the in-app chat. Just click the blue chat bubble in the bottom right. We are happy to help!
N.B. This simple set of instructions can be applied to CMS such as Drupal, Joomla, MODX, and more.