How to install Convertize with Hubspot
With Convertize, you can do A/B testing on your Hubspot pages. Adding Convertize to your Hubspot pages is easy and only takes a few minutes! All you need to do is add the Convertize Pixel (the tracking code that you will receive when creating a project) to the header HTML in your Hubspot account.
You can either add the Convertize Pixel to specific pages or to all pages on a domain.
Add the Pixel to a specific page or blog post
1. In your HubSpot account, navigate to your blog, landing pages, or website pages.
2. Hover over the page and click Edit.
3. In the page editor, click the Settings tab.
4. Click Advanced Options to access the Advanced Code Snippets section and enter your code into the Head HTML
Add the Pixel to all pages and blogs hosted on a specific domain
1. In your HubSpot account, click the settings icon in the main navigation bar.
2. In the left sidebar menu, navigate to Website > Pages.
3. In the upper left, click the Choose a domain to edit its settings dropdown menu to select the domain you want to update settings for.
4. Add your code snippets to the header or footer HTML of all pages and blog posts hosted on the selected domains.
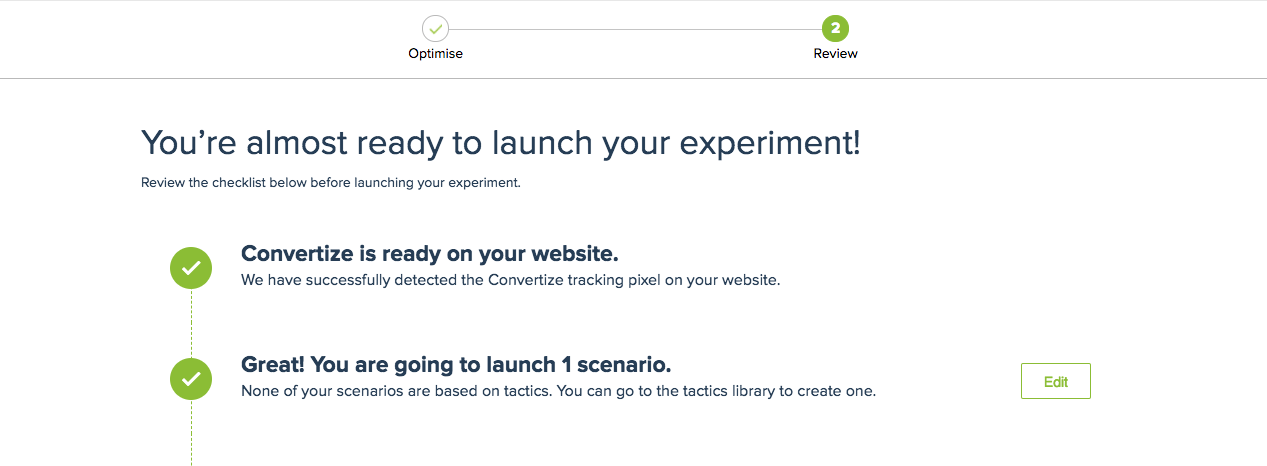
Your Pixel is now added to your Hubspot page(s). You can start A/B testing your Hubspot page(s), and apply the changes you made in the Convertize Editor to your live page(s). When you launch an experiment, the platform tells you whether your Pixel is installed. Read more about checking if your Pixel is installed correctly.
