What is the Convertize Pixel, And How Does It Work?
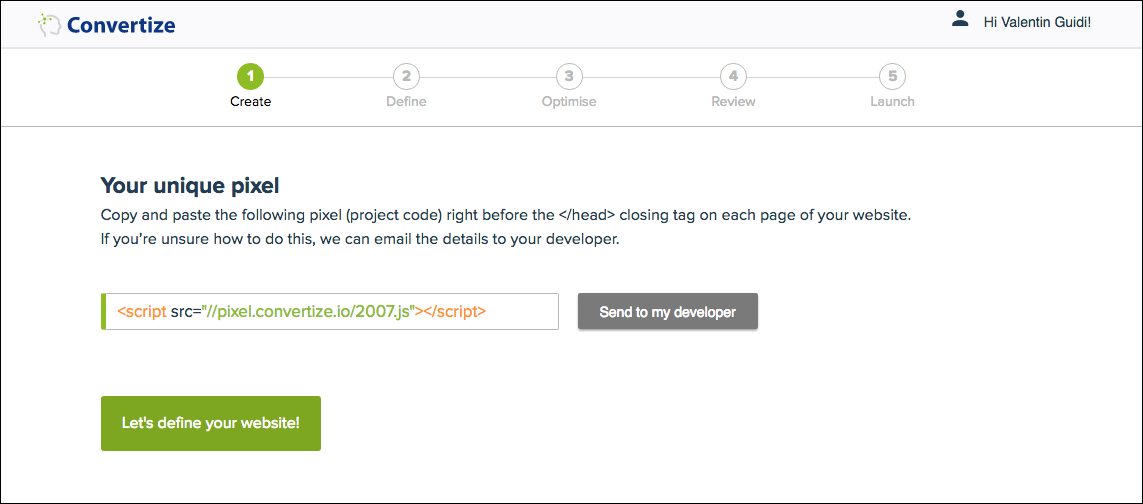
Each project is assigned a unique Convertize Pixel. It is a small line of code that you add to the header of your website, and it usually looks something like this:
![]()
The Pixel is what allows you to make changes to your website in the Convertize SmartEditor™. It is also how you track conversions for different scenarios during an A/B test. Without having the Pixel in place, none of the changes you make to your website will be visible.
What Is The Convertize Pixel, And How Does It Work?
- What Is The Convertize Pixel?
- What Makes The Convertize Pixel Unique?
- Frequently Asked Questions About The Convertize Pixel
- Where Can I Find My Unique Pixel?
- How Do I Install My Pixel?
- Can You Install The Pixel For Me?
Our developers are constantly working on ways to optimize the Convertize pixel. As a result, it is exceptionally fast and remarkably versatile. We encourage our users to test their page loading speed after installing Convertize and, if possible, to share their results.
What Is The Convertize Pixel?
The Convertize Pixel is a small piece of Javascript that modifies the appearance of a webpage based on the changes you make with the SmartEditor™. As a web browser reads your page’s code (from top to bottom) it finds the Pixel in your <head> tag. Before the browser reads your content (including any elements in the <body> section), the Pixel applies your changes. It is the same technology that services like GetSiteControl or Intercom use to create pop-ups and widgets.
![]()
Since Convertize is both an A/B testing tool and a website optimization platform, the same Pixel can be used to edit your content, run A/B tests and add new features to your webpages. Once the Pixel is installed, you can create Smart Notifications and add Geolocation or Dynamic Text to your website.
What Makes The Convertize Pixel Unique?
Our developers found 7 key areas to optimize the Convertize pixel, reducing its size and making it more powerful. That means that you can run substantial A/B tests without affecting your page loading speed or causing page flicker.
What is Page Flicker?
A/B Testing Page Flicker occurs when a large and inefficient Pixel is too slow to modify the webpage before the original content appears. As a result, a visitor sees the original page for a split-second, before the new version appears. The effect is also known as FOOC (Flash of Original Content).
You can read all about the optimizations that make Convertize lighter and faster in our article on A/B testing site speed.
Frequently Asked Questions About The Convertize Pixel
– Can I Use The Same Pixel For Multiple Webites?
If you are running A/B tests on multiple sites, you have to create a new Project for each website. Remember, each Pixel is unique to a Project, so be sure to install the correct Pixel on the correct website.
– Can I Use The Same Pixel For Multiple Subdomains?
If you have one site with multiple domains, you can often use the same Pixel. For example, a website with separate domains for French and English-language content (that, otherwise, look and function the same) could use a single Pixel to test both domains.
It is important that you define the pages included in your experiments carefully, using URL targeting to make sure the right changes are made to the right pages.
For example, if you are using the same Pixel on your French www.example.fr and English www.example.com websites, but you only want to change the catalog page on your English-language domain, you should target: www.example.com/catalog
Simply targeting all URL’s that contain ‘/catalog’ would apply your changes on every webpage including that string on each domain that uses the same Pixel.
Where Can I Find The Pixel For My Project?
– When Launching A New Project
Your project is assigned a unique Pixel as soon as you create it, and you find it at Step 1 (“Create”), before you have even started editing a page. Bear in mind that the changes you make in the SmartEditor™ won’t be visible until the Pixel is in place.
If need help, read this article on how to install the Pixel.
– For An Existing Project
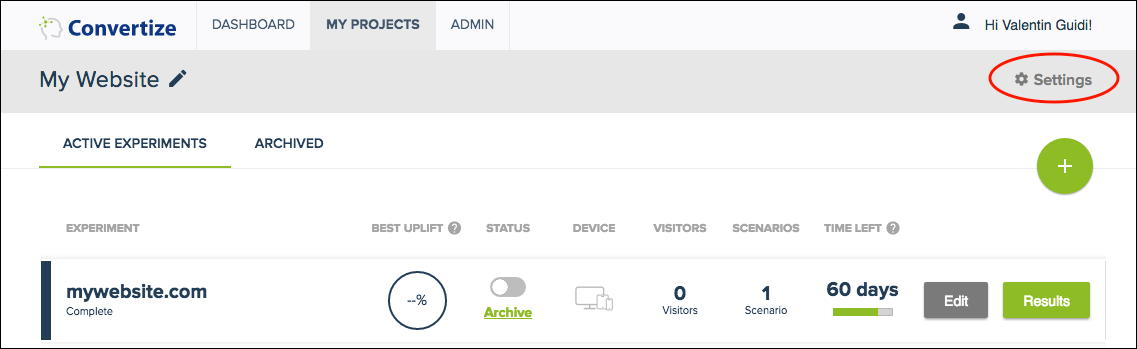
You can access your Pixel at any time, by visiting your project page. Simply click on “Settings” in the top right corner.
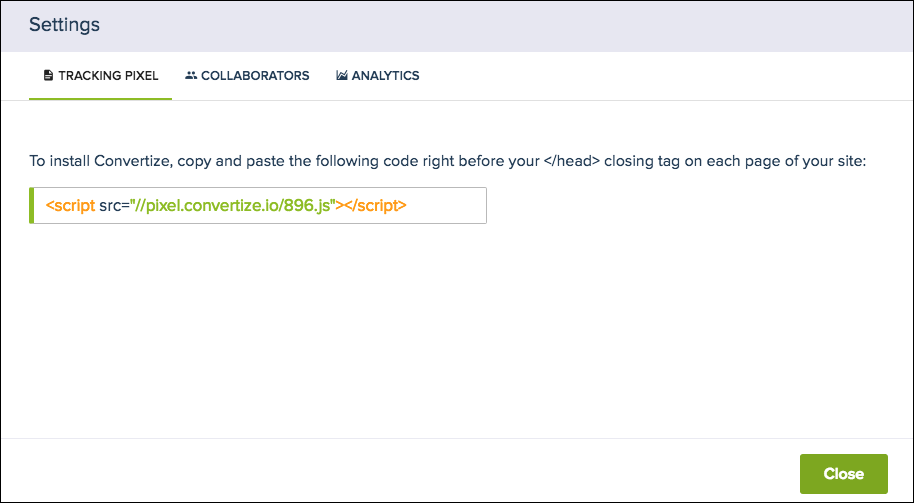
Once you have opened your project settings, the Pixel will be displayed in the tab “Tracking Pixel”.
How Do I Install The Pixel?
There are three ways to add the Convertize Pixel to your website:
- Using Your CMS or Website Builder. This adds the Pixel to every page in one go, and is often the easiest way to install it. You can find step-by-step instructions for installing Convertize with WordPress, Squarespace, Shopify, Magento and every other major website builder.
- Using Your Tag Manager. Any tag manager will allow you to add the Convertize pixel to some or all of your pages. For detailed guidance, read the instructions for installing Convertize with Google Tag Manager and installing Convertize with any Tag Manager.
- Manually, On Each Page You Want To Test. You can create experiments on any page that you add the Convertize Pixel to. You can find specific guidance on where to add the Pixel in the article: Where do I insert the Convertize pixel in my source code? Remember, you will also have to add the Pixel to any pages that you want to set as Goals.
Unfortunately, we don’t install the Pixel for you. In fact, we will never request access to your source code or your CMS. We are happy, however, to talk you through the process and answer any questions you have. Ask us in the live customer support chat, or take a look at the instructions for your type of website.